

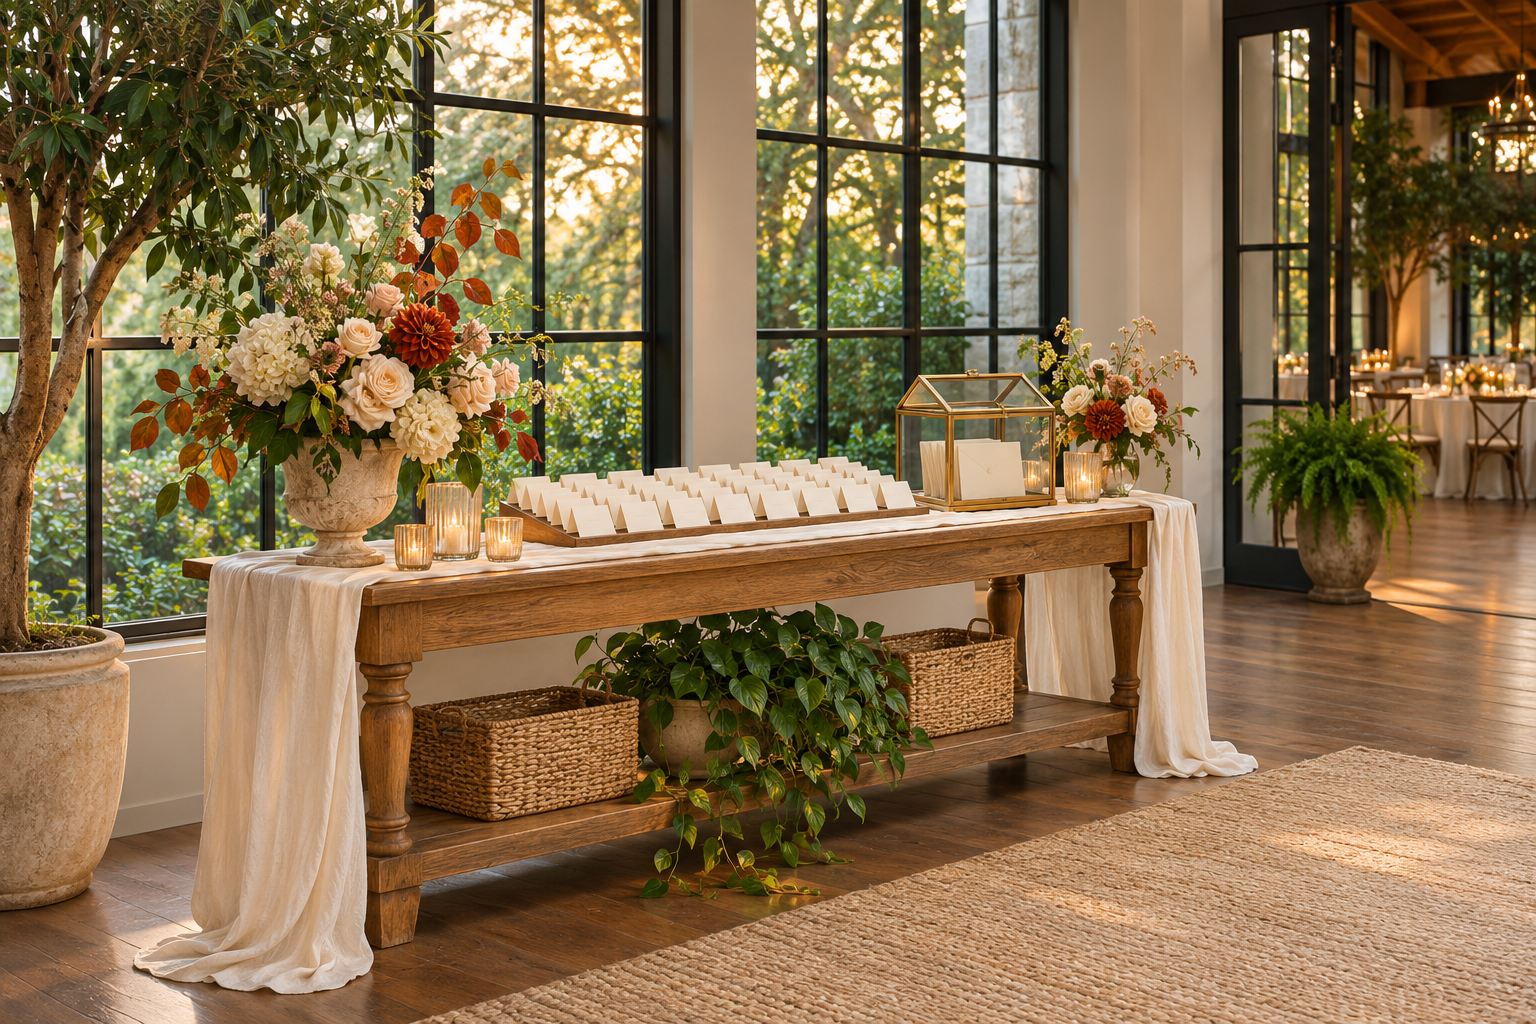
A good wedding welcome table answers three questions almost immediately: Where do I go? Where do I sit? Where can I leave this card? Put those jobs first, and the table can be both beautiful and genuinely helpful.
If you're starting with a blank table, begin with one readable sign, one seating display if you're assigning tables, and a spot for cards. Put the setup just off the entrance rather than in the doorway. The ideas below build on that simple plan, whether you're hosting 35 people in a restaurant or filling a reception hall.
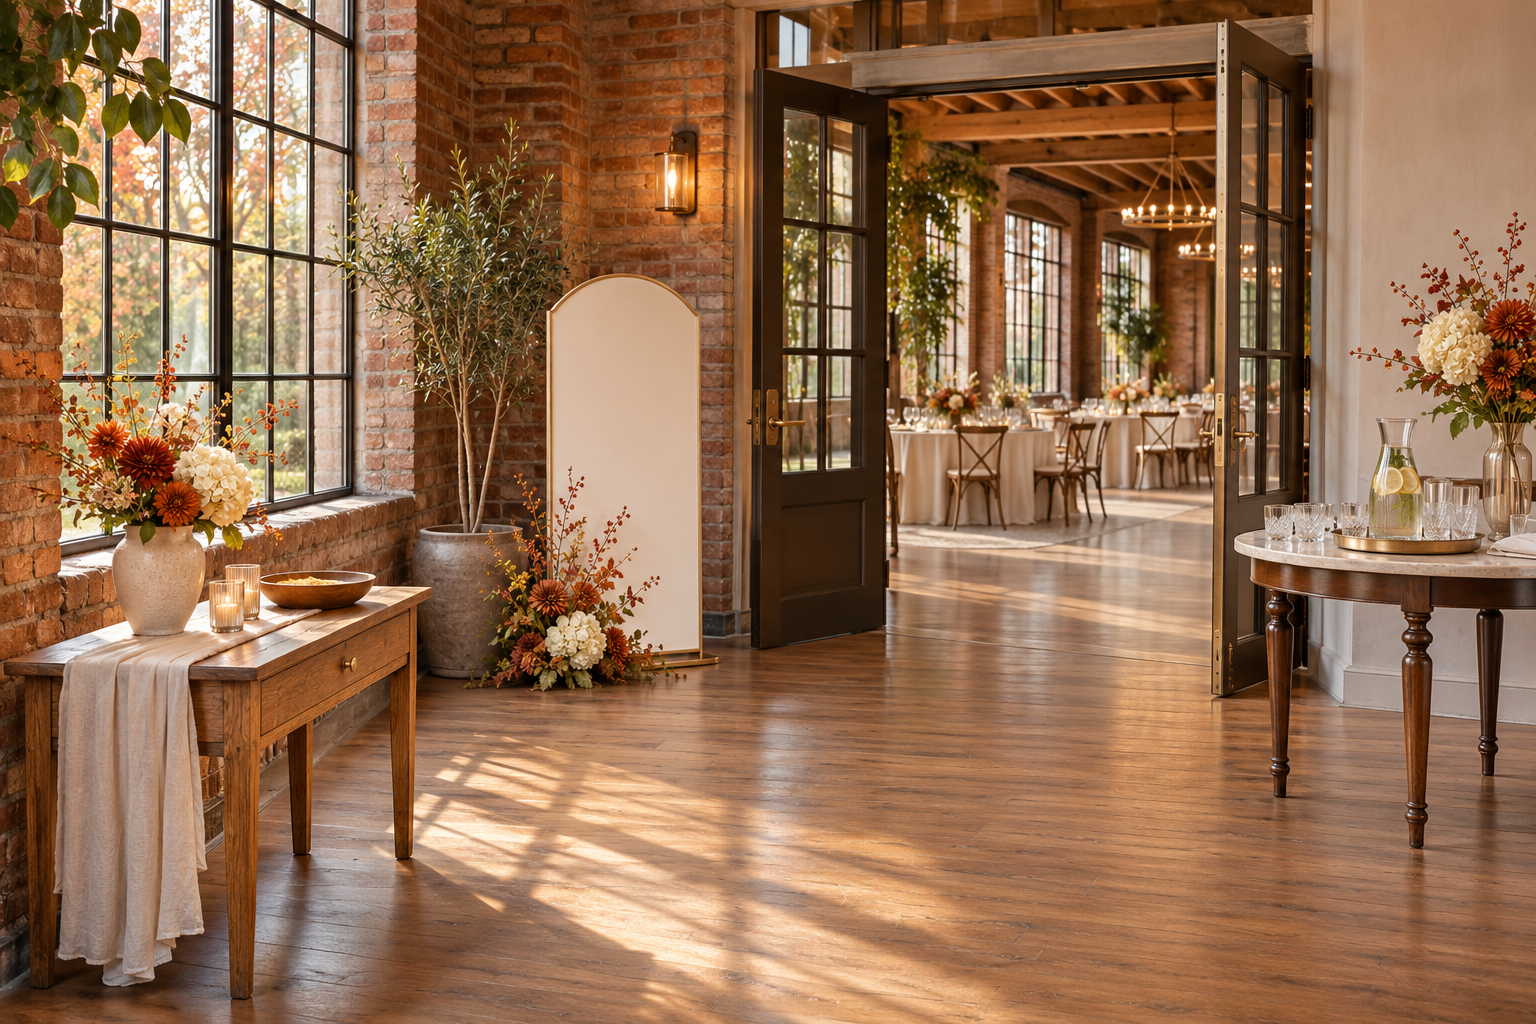
Start with a clear route from the door
1. Set the table just past the entrance
Place it where people can see it when they arrive without stopping in the swing of the door. Walk through the entrance with your venue contact and decide where someone can pause while two other guests walk past.
2. Put directions at the first decision point
If guests can go left or right, put the sign before the fork. Wording like Ceremony in the courtyard → is more useful than a large decorative welcome sign that doesn't tell guests where to go.
3. Keep the busiest task off the main path
People read seating lists slowly. If the foyer is narrow, put the list on a wall or a separate easel farther into the room. Keep the fast-moving welcome table near the entrance and give the people looking up their table a place to step aside.
4. Write the evening’s cue in one line
If guests should find their seats after cocktail hour rather than right away, say so: Drinks on the terrace. Find your dinner table at 6:15. Missed a detail? Ask the venue host what question they get most often and answer that instead.
5. Give arrival helpers a simple script
Ask one person to stand nearby for the initial rush. Give them a seating list and the quickest routes to the restroom and ceremony space. Their job is to answer questions, not run a second check-in.
Make seating assignments easy to find
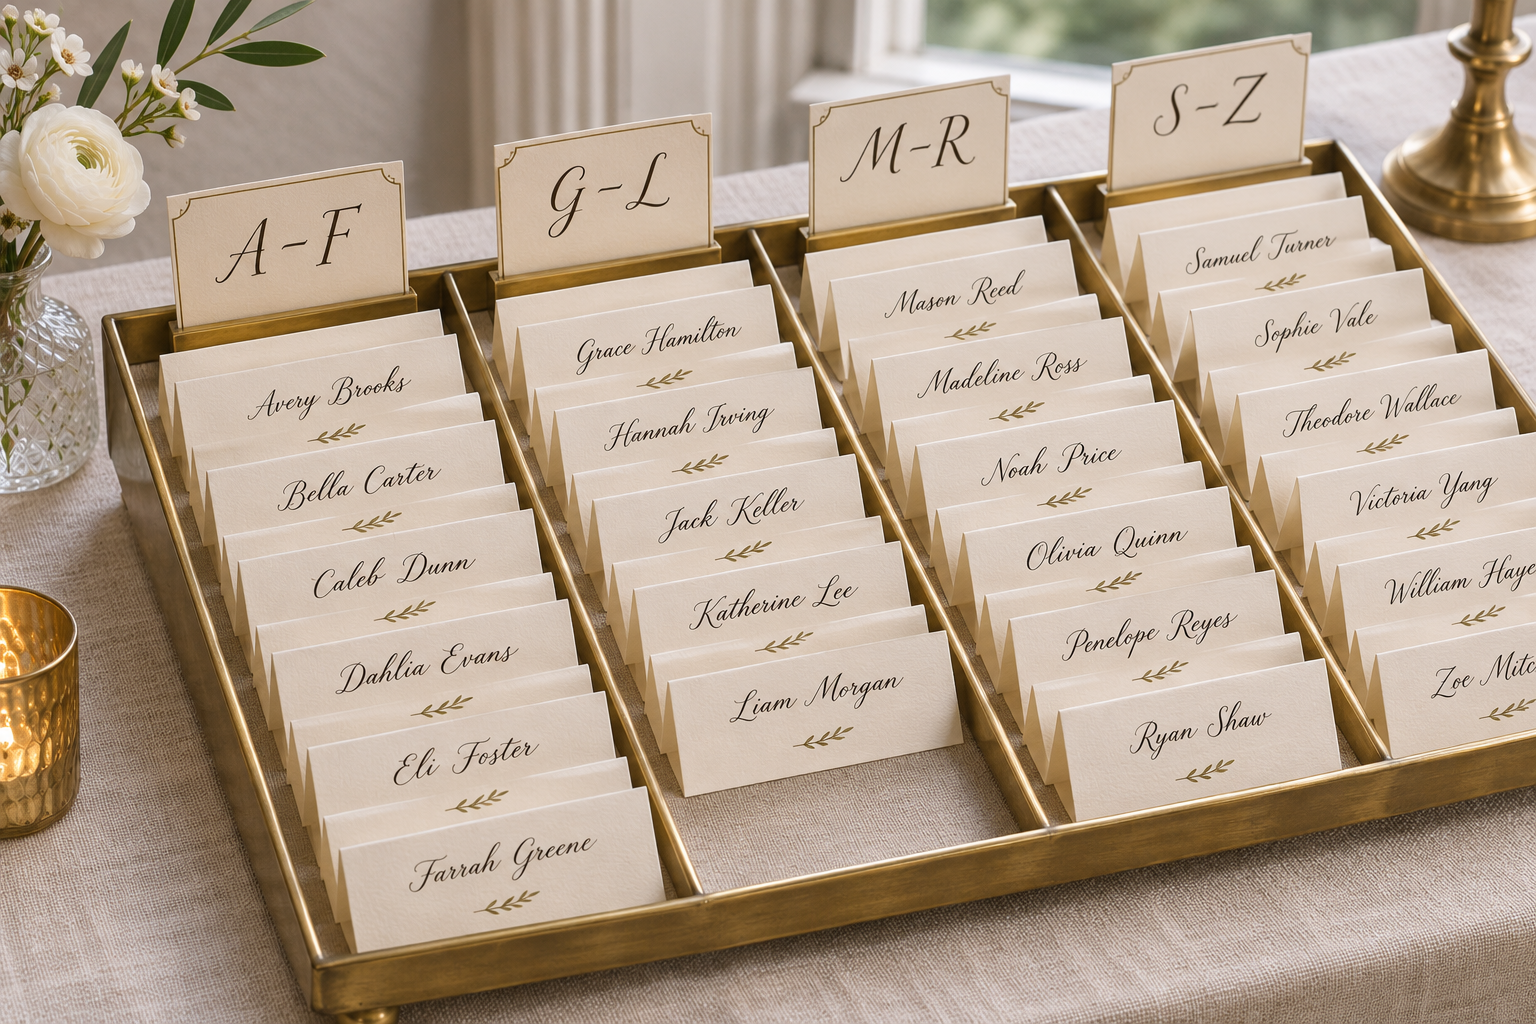
6. Sort by surname, not table number
Guests know their names. Give the seating chart clear A–F, G–L and other alphabet headings so they don't scan all the tables. If the list is short, a single column might be faster to read than multiple tiny columns.
7. Choose a chart or escort cards
A chart stays in place; an escort card travels with the guest and shows their table. Use whichever works for your room. If the caterer needs meal indicators at individual seats, ask whether they prefer separate place cards or coded escort cards.
8. Make names readable in the room you have
Reserve script for the heading. Set names in a clear typeface with strong contrast, then print a page at full size and read it in the actual venue light. A board that looks easy to read on your laptop can be surprisingly hard to scan at dusk.
9. Leave room for late changes
Print a few blank cards in the same stock and hand a pen and current backup list to the coordinator. If someone drops out or changes seats after you've printed the chart, they can direct guests without reprinting the entire board.
10. Add a small room map when it helps
If the doorway hides half the dining room, a simple diagram can tell guests where to look once they have their table number. Match the numbers on your printed map to the physical signs and draw it from the viewpoint of someone entering.
Keep cards and optional activities from slowing arrivals
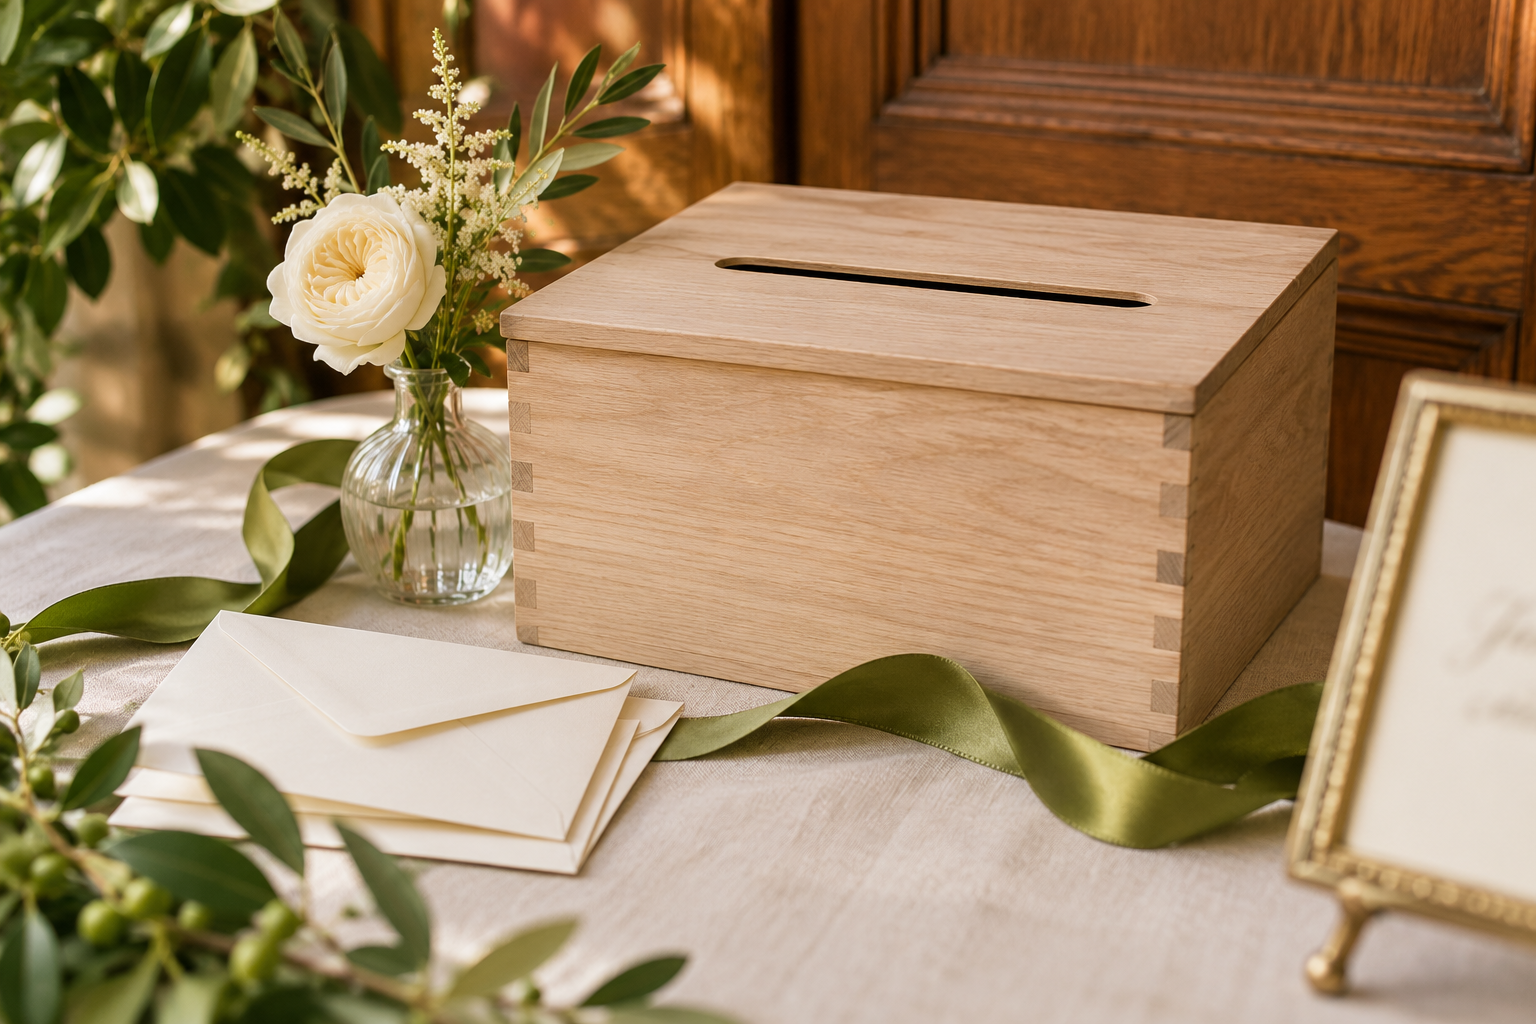
11. Give envelopes one obvious drop spot
Put a clearly marked card box where guests can reach it without leaning across the seating display. Ask a trusted person to collect it after arrivals rather than leaving it unattended all evening.
12. Move the guest book away from the line
A note, photo or audio message takes longer than reading a seating card. Put the activity where people can return to it during cocktail hour, and point to it with a small sign if needed. For options, see our wedding guest book alternatives.
13. Put refreshments on a separate surface
If you're offering a drink on arrival, locate it a few steps after the welcome table so spills and people waiting for glasses don't crowd the seating cards. Ask your venue to include an easy-to-reach water option and someone to replenish it.
14. Save favors for the way out
Guests don't need to carry a favor, an envelope and a drink while finding their seats. Place favors by the exit later in the evening, or put them on tables if they double as place cards.
15. Offer a printed backup to any QR code
A schedule on your wedding website can be useful, but don't make it the only place to find important directions or timing. Include those details on a sign in the room for people who don't have a phone handy or can't get a signal.
Make a modest table feel finished
16. Borrow the right-size piece from the venue
Ask what is already on-site: an oak console, repurposed desk or narrow folding table may work beautifully. Measure the surface after you account for the sign, card box and paper goods, then decide if you actually need another rental.
17. Use one arrangement as the anchor
A single low arrangement or small grouping of bud vases lets the paper goods do their job. Reuse ceremony flowers only if someone is assigned to move them before guests need the table.
18. Keep the setup steady and reachable
Put light cards in holders outdoors. Keep linen hems off the walking path, and check venue rules before bringing real candles. For a table guests use themselves, place cards and pens toward the front and keep the approach clear.
Test the setup before guests arrive
19. Rehearse as if you’ve never been there
Start outside with a friend who hasn't seen the floor plan. Ask them to find their seat and a place to leave a card without coaching. Adjust the location or wording at the first point where they hesitate.
20. Build for your actual guest count
For a small wedding, a single compact station can handle directions, cards and seating. With more guests or a crowded foyer, split those jobs across two spots. For layouts in a smaller room, see our small wedding reception ideas for 30 to 50 guests.
21. Photograph the layout and assign the handoff
Take a quick picture of the table set up and send it to the person who will install it. Label each box by station and agree on who brings the backup seating list, who gathers the card box, and who moves anything that needs to be reused.
Your setup checklist
Confirm the table location and the separate place for drinks or a guest book.
Print readable directions, a seating list and a few backup cards.
Pack the sign holder, card box, pens and one small arrangement.
Walk the route with someone who hasn't seen the floor plan.
Give one person the latest seating list and the plan for collecting cards.
Guests may not remember whether the sign was framed. They'll remember whether they walked in and immediately knew what to do.